2.03.2005
Hummus to End All Hummuses
Now I realize that everyone who makes their own hummus believes that their recipe and methods produce the best tasting hummus. To convince you, therefore, that this hummus is worth trying, I must use the power of the English language in subtle and articulate ways.
This is the best freaking hummus you've ever had!!!
You'll notice I used three excalamation points, which should leave you with very little doubt as to its fabuliciousness grandimosity. I have been making my own hummus for the better part of ten years now, and it has gone through a process of refinement that would impress the masters of hummus, wherever they may be. Perhaps they live in caves, I don't know. The good news is, it's easy to make. What's more, because of my concern for you, dear reader, I have given a recipe that is far more thorough than necessary...
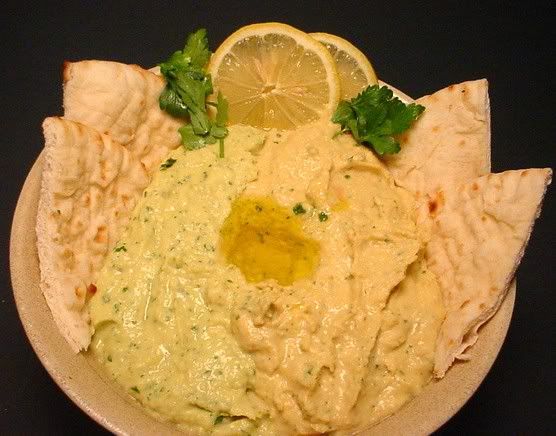
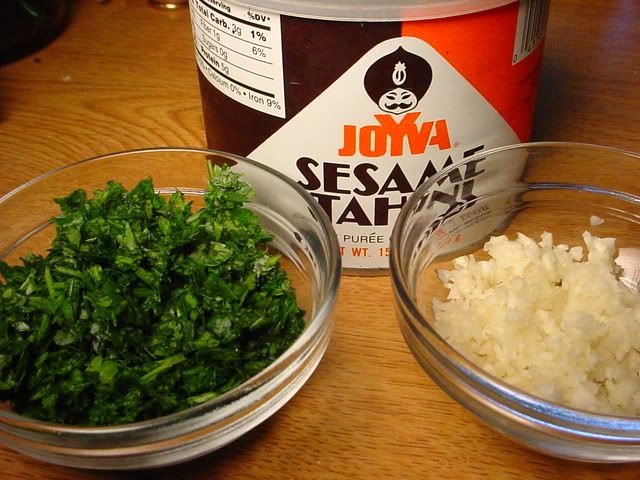
Now the key here is to prep everything and lay it out before you. Ramekins are very useful for making hummus, and I also enjoy the word "ramekin." If I ever have a boy I might name him Ramekin. You'll notice in the picture above that the two sides of the hummus have a slightly different color. That is because I used one can of Conchita chickpeas, and one can of fancy organic chickpeas (if my roommate Page is reading this, yes, I stole your can of organic chickpeas, but you can have some of the hummus as long as you don't double dip). Here are some ramekins posing with a container of tahini:
Hummus
2 cans chickpeas (or if you soak & boil your own, about 3 1/2 cups, in either case, reserve 1/2 cup of the liquid)
2 tsp. garlic, minced
2 Tbsps. Italian parsley
1 lemon, juiced
4 tsps. tahini
2 Tbsps. extra virgin olive oil
salt to taste
1) When making this amount, it is useful to make it in a small prep food processor. These little machines are great for small amounts of garlic, herbs, etc. And, the recipe is measured for the most part in whole numbers, making it easy to divide in half, each half fitting perfectly into most small food processors! You're welcome. I recommend mincing the garlic and the parsley one at a time, then transferring with a spatula to the aforementioned ramekins. That way you can add a little more a bit a time if you want more garlic, for example.
2) Start with a small, relatively clean food processor, add half of all ingredients listed above. Pulse to get it going, then really let her rip, until all of the chickpeas have been pureed and the hummus is smooth. If you prefer your hummus a bit thicker, you can add less of the chickpea liquid, but remember that if you let it sit in the refrigerator for much longer than a few hours, it's going to thicken up a bit anyhow.
3) Taste batch one. Is it too salty? Too garlicky for you? I bet you like it extra lemony. It doesn't matter, because you can adjust for any of that in batch 2!
4) When the two batches are done, mix them together (or don't) in a bowl, and serve with pita bread or flat bread, or pita bread drizzled with olive oil, sprinkled with oregano, and toasted in the oven. You can also make a little well in the center and fill with olive oil for those who like it a little oily.
I guarantee you will like this hummus. If you're not satisfied, let me know and I will personally e-mail you a snide apology.
Subscribe to:
Post Comments (Atom)


No comments:
Post a Comment