10.31.2004

Ragu alla Bolognese


I fell off the beef wagon and hit the ground hard. For nearly 5 years I've eaten almost no beef whatsoever, just pieces here and there. But a couple nights ago a friend grilled some incredible steaks and I couldn't resist. Since then I've gone a little crazy. Yesterday I came home from the store with Lit'l Beef Smokies, roast beef, and a package of ground sirloin. I expect to be 5 pounds heavier within the next couple weeks, and I expect a Christmas Card from the American Beef Council.

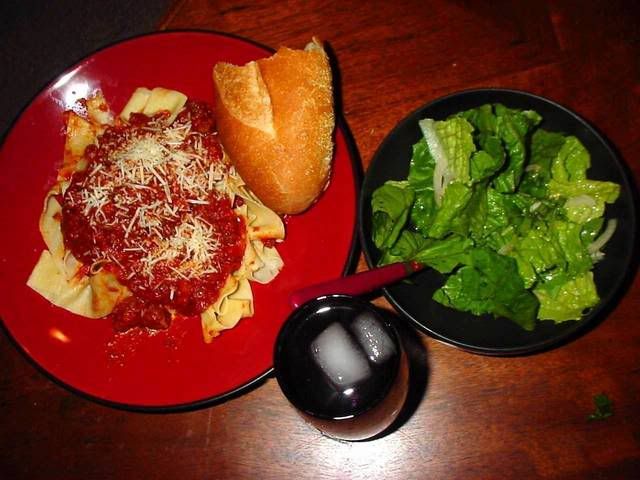
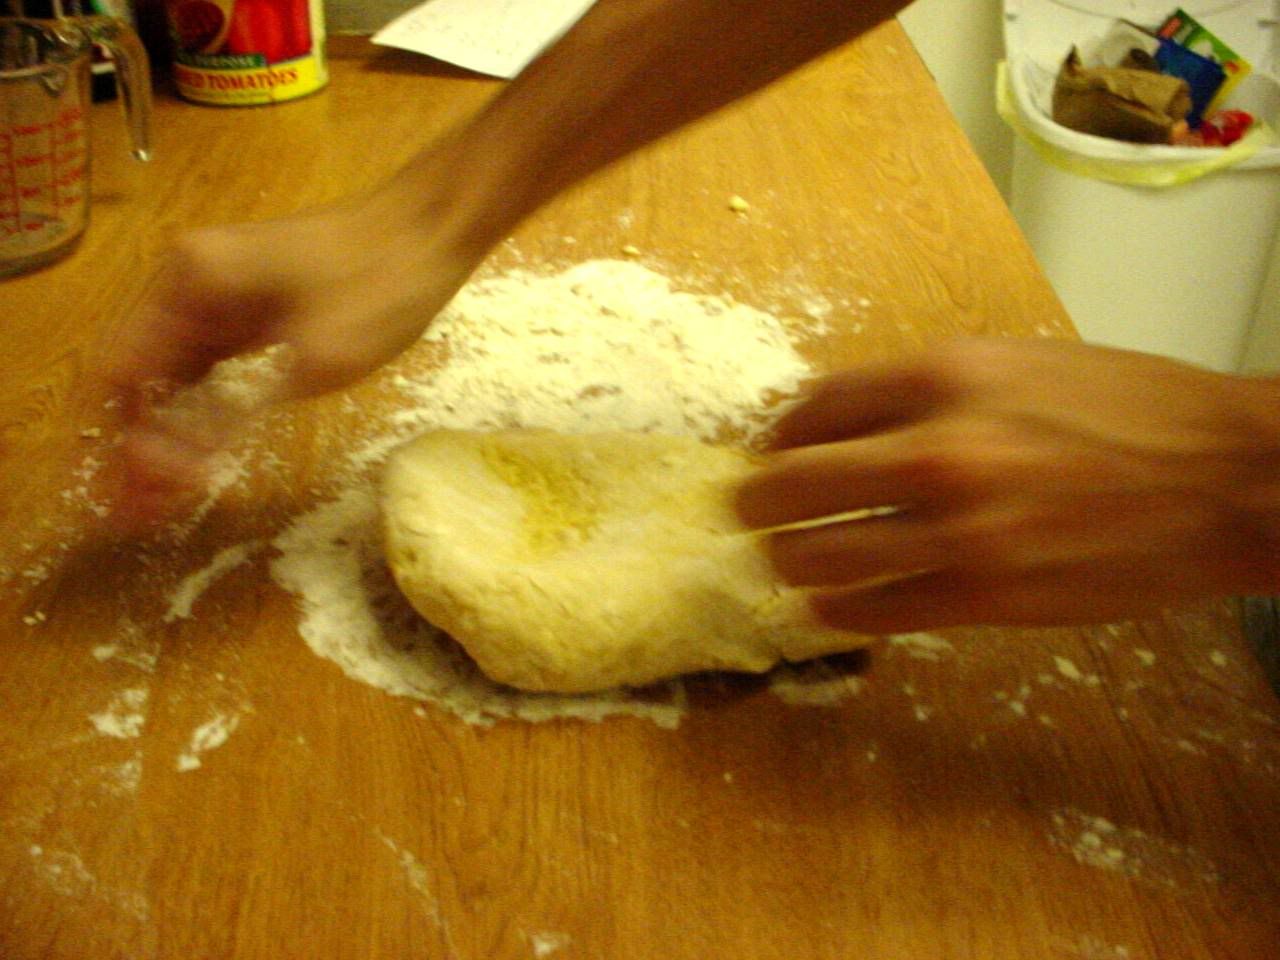
Anyhow, the ground beef found its way last night into an amazing Ragu alla Bolognese. This is basically a meat sauce which has been simmered for a long time. The recipe came from Marcella Hazan by way of the L.A. Times, who adapted it. I didn't change too much, except I added garlic and used crushed instead of chopped tomatoes. Oh, and I also tend to like my sauce on the sweeter side so I added a tablespoon of sugar. We also made tagliatelle, which was labor intensive since I have no pasta machine, but was well worth the effort. Nick helped alot with the pasta as you'll see in the pictures below. I've decided I'm enamored enough of fresh pasta to sink some cash into a machine. Soon. I copied the text from the LA Times article since I don't know how long the link would remain viable. I should mention that the article said it would serve 8. The sauce perhaps, but the pasta recipe is closer to 4-6. Or maybe we were all gluttons. It was difficult to move afterward, though Nick had a nice bottle of Italian bitters to aid with digestion. Please make this recipe.

Total time: 1 hour, 25 minutes plus 3 hours simmering time

Ingredients:

1 tablespoon vegetable oil
3 tablespoons butter plus1 tablespoon for tossing the pasta
1/2 medium onion, chopped
2 medium cloves of garlic, minced
1 stalk celery, chopped
2 medium carrots, chopped
3/4 pound ground chuck (I used sirloin)
Pinch salt
Freshly ground black pepper
1 cup whole milk
1/8 teaspoon nutmeg
1 tablespoon sugar
1 cup dry white wine
1 1/2 cups canned imported Italian plum tomatoes, with juices, chopped (I used crushed)
3/4 pound fresh tagliatelle or 1/2 pound dried rigatoni, conchiglie or fusilli
Parmesan cheese


1. Heat the oil, 3 tablespoons butter and the onion in a large high-sided skillet over medium heat and cook, stirring often, until the onion is translucent, about 5 minutes. Add the garlic, celery and carrots and cook for about 2 minutes more, stirring to coat the vegetables with the butter.

2. Add the ground beef, a pinch of salt and a few grindings of pepper and cook, crumbling the meat with a fork, until it has lost its raw, red color. Add the milk and simmer it gently, stirring frequently, until it has bubbled away completely, about 15 minutes.

3. Add the nutmeg and stir. Add the wine and let it simmer until it has evaporated, about 25 minutes. Add the tomatoes and stir thoroughly to coat all the ingredients well. When the tomatoes begin to bubble, turn the heat down to cook the sauce at the laziest of simmers, uncovered, for 3 hours or more, stirring from time to time. You will need to add water to the pan occasionally to prevent the meat from sticking.

4. Taste for salt and toss with cooked, drained pasta and the remaining tablespoon of butter. Serve with freshly grated Parmesan on the table.

Fresh Pasta


(I've altered this recipe to reflect the non-machine approach)

Total time: 1 hour

2 cups unbleached flour (or semolina flour)
1/2 - 1 cup flour for kneading
4 large egg yolks
Salt

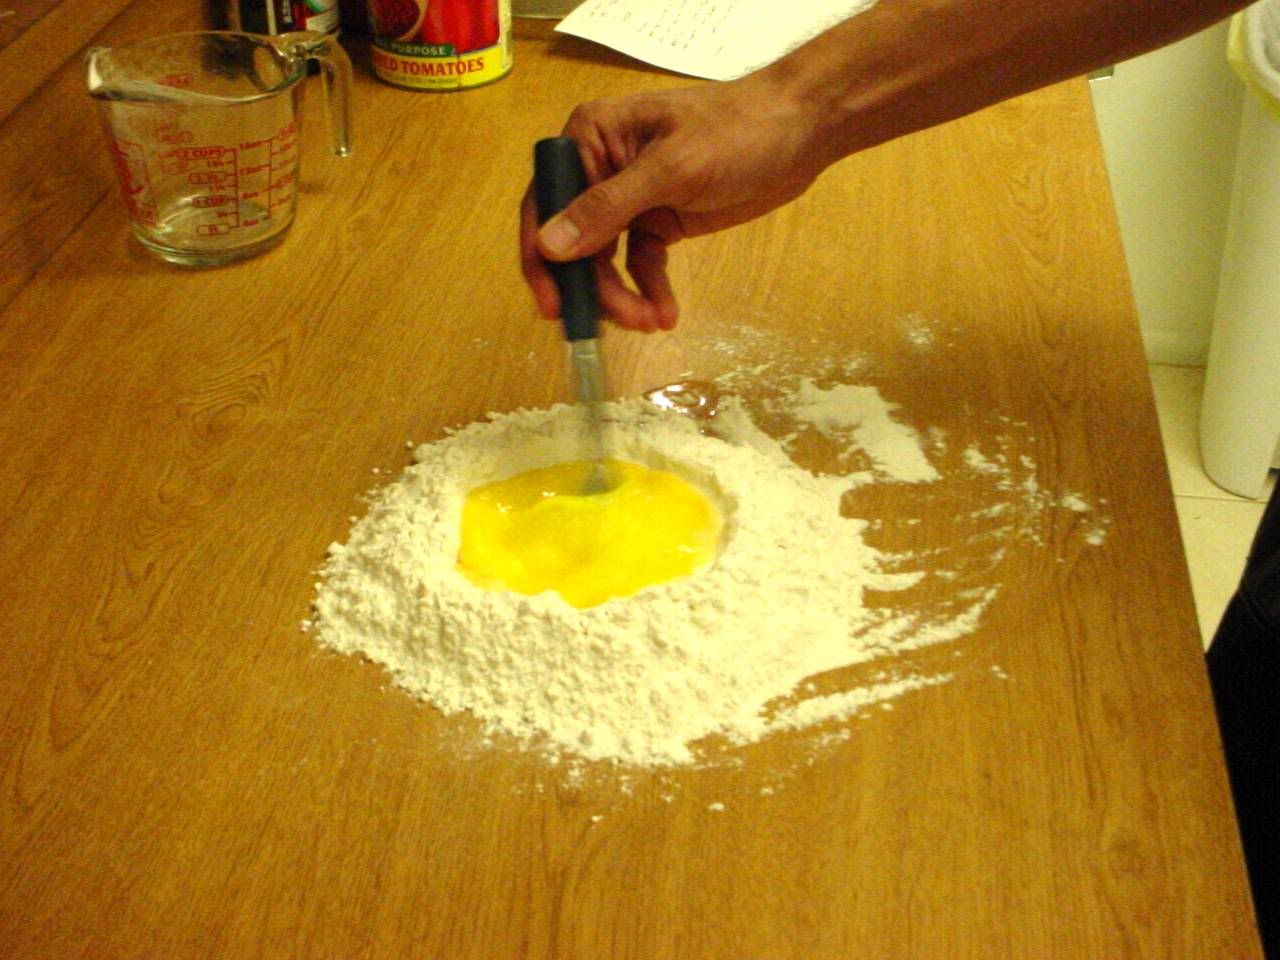
1. Pour the flour onto a work surface, shape it into a mound and scoop out a deep hollow in its center. Break the eggs into the hollow. Beat the eggs lightly with a fork for about 1 minute. Draw some of the flour over the eggs with the fork, mixing it in with the eggs until the eggs are no longer runny. Draw the sides of the mound together with your hands, pushing a bit of the flour to the side and reserving it.

2. Work the eggs and flour together, using your fingers and the palms of your hands, until you have a smooth dough. If it is still moist and sticky, work in more flour. To test the dough to see whether it has enough flour, rinse your hands and dry them, then press your thumb deep into the center of the dough mass. If it comes out clean, no more flour is needed. If it comes out sticky, add more flour from the reserved portion.

3. Knead the dough by hand, using the heel of your palm to press down on the dough, then turning and repeating the motion until you have kneaded the dough for 8 minutes and it is very smooth. You may want to let it set for a few minutes and resume until its quite elastic.

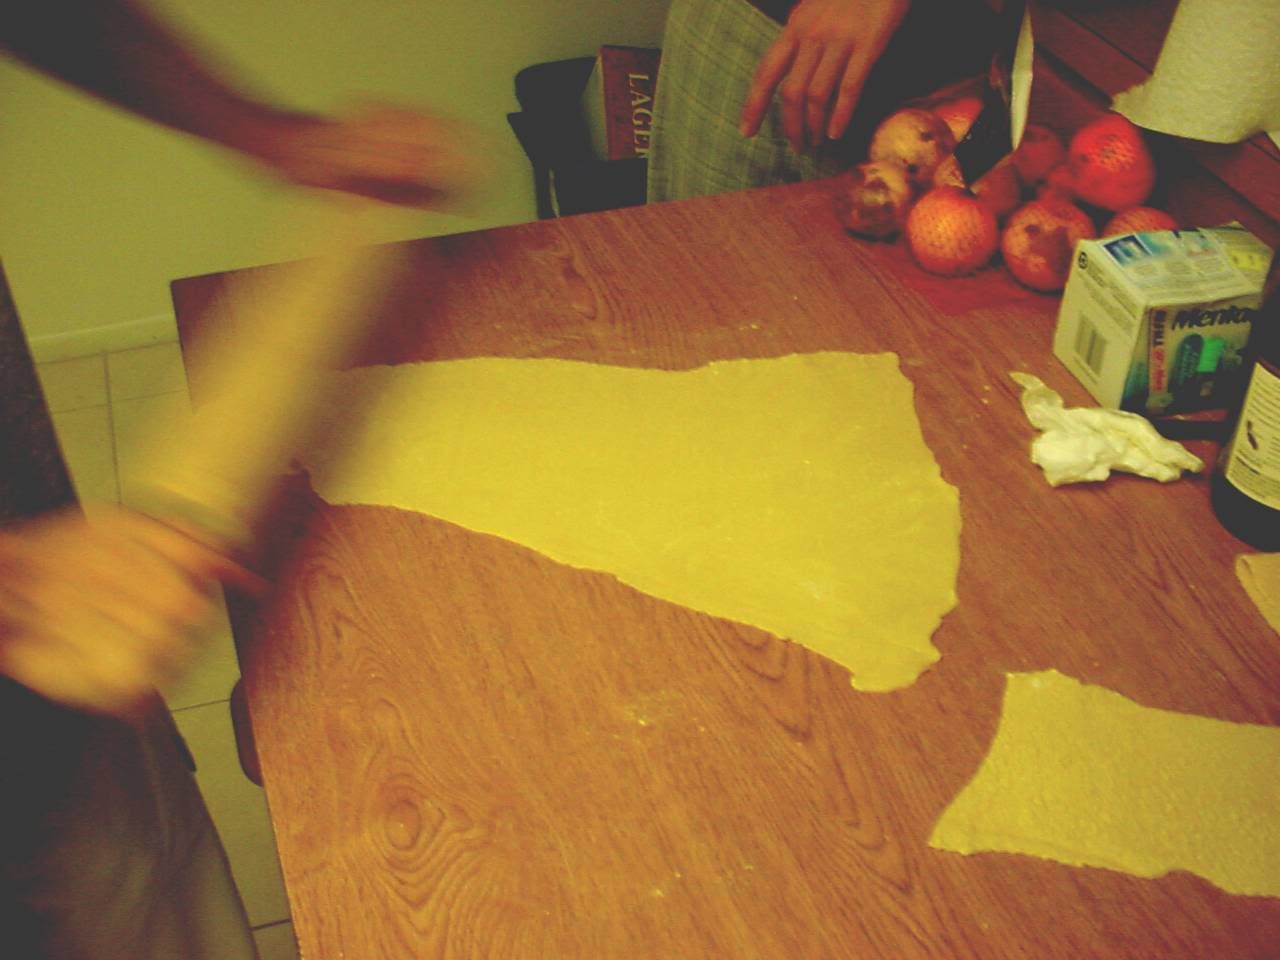
4. Cut the dough ball into 4-6 pieces and roll out until its as flat and long as possible. A rolling pin does wonders, but if you're a glutton for painstaking work you can use a wine bottle. We then hung the long flattend sheets to dry on a clean broom handle. Once they were somewhat dry we folded them up loosely along their length, making a flat roll about 5 inches wide at its sides. With a sharp knife we then cut the roll into ribbons, about 1/2 to 3/4 wide wach. Cut parallel to the original length of the pasta strip so the tagliatelle will be the full length of the strip.

5. Fill a large pot with water and bring to a boil. Add salt and the pasta and cook for 2 to 4 minutes, until tender but still slightly firm to the bite. Drain and toss with sauce.


10.25.2004

Tempura

I rarely eat tempura for a very simple reason. When I go to a Japanese restaurant, I want sushi. This makes sense. But I do enjoy tempura, and since I happened to have a brand new wok on Saturday, I decided to make up a batch. With a two nice appetizers and the help of Aj and Liz, it turned into a really nice meal.

What we had:
  • Bacon-wrapped enoki mushrooms
  • Sunomono
  • Shrimp and vegetable tempura

Serves 3-4

The first appetizer was easy to make and quite delicious, but unfortunately enoki mushrooms can be quite expensive so you don't get a whole lot of bang for your buck. First, take a small bunch of enoki mushrooms, which are mushrooms with long thin stalks and tiny buttons at the top. The diameter of the bunch should be about the same as that of the hole your fingers make with an "OK" sign. Unless you have huge hands. On second thought, if you have huge hands you probably have a bigger appetite, so go for it. And I guess this logic also applies to those with tiny hands, so adjust accordingly.

Cut off the dirty ends of the mushrooms, and while holding the clump together, tightly wrap a strip of bacon around the stems, starting at the bottom and working your way to the top, stopping before the buttons of the mushrooms. Use two strips of bacon if necessary, and drive a toothpick through the middle to hold it together. Repeat for as many clumps as you can afford. If you have a grill fired up, yum. If not, you can do what I did, which is to place them on their sides on a small wire rack set in a casserole dish beneath a broiler for about 10 minutes or so, turning the appetizers once. When done, cut each wrap into two peaces, one with the bottom half of the stems, and one with the top half of the enoki. Remember to remove the toothpicks, unless you are dining with an enemy. The finished product will look something like this:

Next up was the sunomono salad. Sunomono basically means "vinegared things" This is a staple of Japanese restaraunts everywhere, and can range widely in presentation and taste depending on where you go. Usually it is brought to all diners before the meal is even ordered, and often times it will be little more than a tiny saucer with some cucumbers and a baby shrimp or two. Consider my version to be a tastier, mightier sunomono that will put many to shame.

Start by de-seeding a halved cucumber (English hothouse cukes are especially nice here) and slicing into rather thin pieces. Next, add some seaweed. Wakame is already cut into thin salted strips, and benefits from boiling and cooling before addition to the sunomono. It should be noted here that eating wakame makes your hairy shiny. If you only have nori --the seaweed used for makimono (sushi rolls) -- you can cut this into thin strips and add it to the salad. Next, boil 15-20 shrimp and place in the fridge to cool. Meanwhile, make the dressing by mixing:

4 Tbsp rice vinegar
1 Tbsp shoyu (soy sauce)
1 1/2 tsp. superfine sugar (I use x10 confectioner's sugar)

Add all your ingredients together in a bowl, pour the dressing on, and sprinkle the top with sesame seeds and tiny matchsticks of fresh ginger. That's it! Take a moment to view AJ's lovely presentation, then move straight on to the tempura.

I was very excited to break in the new wok, even if it was just for some deep frying. The best thing about tempura is the lightness of the batter, so you get the taste of fried food without afterward feeling like you ate a bulldog.

First make the all-important tempura dipping sauce by mixing:

1/2 cup shoyu
1/2 cup mirin
1 2/3 cup dashi stock (1 2/3 cup water, 2 tsp dashi-no-moto)

For those of you not accustomed to Japanese ingredients, mirin is a heavily sweetened sake that has been compressed and filtered. Dashi stock is composed traditionally by boiling kelp and bonito (skipjack tuna) flakes. This method produces delicious stock, but can be time consuming and expensive. You can make do, like Kitchen Monkey, with a container of Dashi-no-moto, which is the equivalent of powdered chicken stock or boullion cubes. Many major supermarkets have mirin, but for the dashi-no-moto you'll probably have to find an Asian market that carries Japanese ingredients. Both mirin and dashi are essential for many Japanese dishes, so stock up!

Next you'll want to prep all your veggies and shrimp. There are a wide variety of vegetables you can use, including anything in the squash family, shitake mushrooms, green beans, or asparagus. However, we stuck with just a few essentials: sweet potato, carrots, and eggplant. The carrots should be julienned, the sweet potato cut into 1/4" rounds, and the eggplant cut into sticks a 1/2-inch or more on each side. Next prep the shrimp. Typically you want the shrimp to stay ramrod straight, which means driving a skewer through the top length of the shrimp and frying it on the stick. But having not enough skewers we simply butterflied the shrimp to allow them to hold more batter.

Speaking of batter, you'll want to combine:

1 cup Ice cold water
1 large Egg, beaten
3/4 cup sifted all-purpose flour (with extra for dusting the to-be-frieds)

Don't make your batter too early, because the ice-coldness is essential to the crispyness of the final product. Now you are ready to dip! The Korean woman at the Oreintal Market and Gifts store recommended soybean oil, but the stuff is relatively expensive, so I went with good old vegetable oil--about 2 cups. Once the oil is piping hot dip a handful of veggies and/or shrimp into the batter and ease them into the wok. Ease them in.

I must credit AJ, who bears more frying experience than I, with noting that the easing of too many veggies/shrimp will bring the oil temperature down and result in a less crispy exterior. Tempura should be eaten as soon as possible after frying, but if you want to serve several people at once, you can make those little pieces wait in a warm oven until everything is done. To serve, pile in the center of a plate with a bowl of dipping sauce on the side. I garnished the tempura with a little mound of freshly grated daikon radish and grated ginger for a palate cleanser with a little kick.

The tempura was delicious and golden. The kitchen is still dirty.


10.22.2004


Undefined Meatiness - Manchego and Jamon

This is a food review.

Restaurant: Sangria Tapas Bar
Rating: 4 out of 5

Last night we ate at Sangria, a new tapas bar on Main Street in Sarasota. Having never been to Spain I didn't know quite what to expect, but the strains of a flamenco guitar wafting into the street, the mediterranean decor, and the impressive wine rack behind the bar instantly made me feel like I had been whisked away to a quaint little street bar somewhere in Epcot. No, I'm being too cynical, and in fact I've never been to Epcot either. The fact is, the atmosphere was very nice, and it had a stamp of approval from my dinner companion, who tells me she grew up in Spain (I'm still checking on this).

Sangria is a place where you can eat cheaply or expensively depending on your appetite. We had gorilla appetites and therefore dropped some serious cash. We started with two glasses of a very nice, full-bodied Spanish wine, Marques de Caceres Rioja. Queenannewine.com says it has "a certain undefined meatiness." I'm not sure if that's a compliment or not, but we enjoyed it and I will definitely purchase this wine again.

Good bread and even better olives were plentiful, and I probably ate 85% of my daily sodium waiting for the first tapas dishes to arrive. We ordered first a dish of jamon serrano and manchego cheese, drizzled with olive oil and served with more bread. My companion, who is a fount of knowledge of things Iberian, explained to me that "manchego" means "of La Mancha." This pleased me greatly. I also remember her telling me a good share of the olive oil in the U.S. is actually produced in Spain. Who knew?

The jamon serrano was very good, like a milder version of prosciutto (which I hold dear), and the cheese complimented it nicely with a slightly nutty flavor. Unlike authentic Manchego cheese, this was pasteurized (another fun fact from Senorita Palomo!) This dish was served at the same time as a cold squid salad, which was really just squid marinated in lime juice and olive oil with some herbs. This too was good, but the marinade fell short of the taste-tacular sensation that good ceviche provides. Frankly I think they'd be better off with a good ceviche on the menu. Did I mention I make a killer ceviche?

After this we had mas vino, along with a plate of 6 little clams stuffed with what seemed to be mostly breadcrumbs and butter. It was a little rich for my taste, but went well with the wine.
From beginning to end I made the server bring three plates of bread & olives. Three! Kitchen Monkey was ravenous!

We also had dessert: sauteed bannanas with vanilla ice cream, pistachios, and caramel.
I predict Sangria doing quite well, especially if they can change their menu on a regular basis to keep people coming back for new and interesting tapas. I'll be back just for the "Manchego and Jamon", and not just because it sounds like a 1970s Mexican cop show.

By the end of the meal I was extremely full, somewhat tipsy, and my reflexes slow. On each table they keep a beer mug filled with forks, and on my way out I clumsily knocked one off the table, scattering thousands of forks across the tile floor of the restaraunt. Everybody stared at Kitchen Monkey!

10.20.2004


Eat from my tungsten spoon ye brave soldier!

Announcing....Kitchen Monkey

Here is a new blog for me and you. It is called "Kitchen Monkey". There will be recipes and such - musings about food! Kitchen Monkey cuisine is accessible to all with basic kitchen toolery. Must have knife! According to his tastes, Kitchen Monkey's postings will tend toward Mediterranean, Middle Eastern, and Japanese cuisine (Kitchen Monkey is seriously addicted to sushi, gyoza, dolma, and fesenjoon) but anything goes. Jambalaya! Kitchen Monkey will try not to talk about politics.

Here we go!